M Meshy

3D workflow guide

How to use meshy ai for your first 3D asset

This practical guide to how to use meshy ai covers prompt planning, image references, generation, cleanup, and export. Follow the sequence to move from a rough idea to a more usable model.

4 steps
from idea to export
Text + image
two starting points
GLB, FBX, OBJ
common output formats
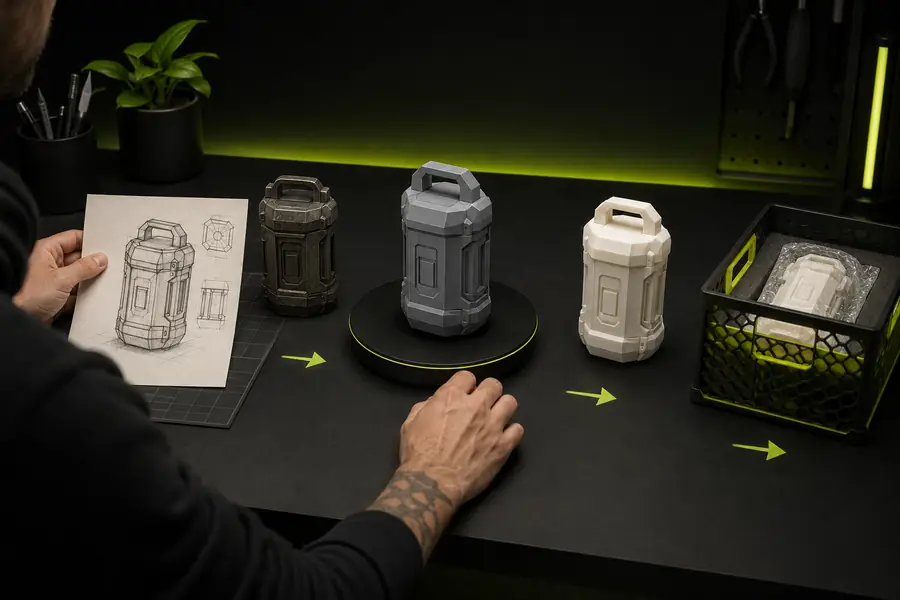
Abstract 3D model workflow showing a generated object

Core workflow

Numbered steps

The best results come from treating meshy ai as an iterative modeling assistant rather than a one-click replacement for every 3D decision.

Define the asset

Decide what the model is for, which view matters most, and what details must survive generation. A simple brief such as “stylized wooden treasure chest, closed lid, game-ready proportions” gives meshy ai a clearer target than a loose list of adjectives.

Generate and inspect

Start with text-to-3D or image-to-3D, then inspect the silhouette, proportions, openings, and major surfaces before worrying about tiny details. Compare several generations and keep the version with the strongest overall structure.

Refine the result

Use a more specific prompt, a cleaner reference, or a new generation when the form is wrong. Meshing, texture, and material choices should be checked separately so one weak stage does not hide another.

Export for the destination

Choose a format and scale that match the next tool. Download the model, open it in a viewer or 3D application, verify materials and orientation, and make final edits outside meshy ai when needed.

Before you start

Prerequisites

A small amount of preparation prevents most wasted generations. Mark each requirement as required or optional for the project you have in mind.

Required

A clear asset brief naming the object, style, view, and intended use

Keep the first brief focused on the main form instead of listing every possible detail.

Required

A stable internet connection and a modern browser

Generation runs online, so interruptions can affect the workflow.

Optional

A reference image with a visible subject and limited clutter

Useful for image-to-3D, especially when the silhouette is more important than surface detail.

Required

A destination application or viewer for checking the exported model

Blender, a game engine, CAD software, or a simple model viewer can reveal problems that are hard to see in a thumbnail.

Optional

A decision about scale, polygon needs, and texture expectations

You can decide these later, but knowing the target helps you reject unsuitable generations quickly.

Required

Time for at least two or three iterations

The first result is a starting point; iteration is part of using meshy ai effectively.

Workflow evolution

Advanced tips

The workflow has moved from novelty generations toward repeatable production habits: clearer inputs, faster comparison, and deliberate cleanup.

  1. Prompt-first experimentation

    Early text-to-3D workflows were mainly used to test whether a rough idea could become a recognizable object. The priority was speed and visual surprise, not production readiness.

  2. Reference-led control

    Image-to-3D became a more useful companion to text prompting because a reference can establish silhouette, camera angle, and proportions that words often leave ambiguous.

  3. Pipeline-aware evaluation

    Creators increasingly judged a model by its destination: whether the mesh could be edited, whether textures were coherent, and whether the asset fit a game, scene, prototype, or presentation.

  4. Iteration as the default

    A mature meshy ai workflow now compares variants, records useful prompts, checks topology and materials separately, and reserves manual modeling for the decisions that require direct control.

Quality check

Tutorial FAQ

Use the comparison below as a reminder that a recognizable generation is not automatically a finished asset.

First generation

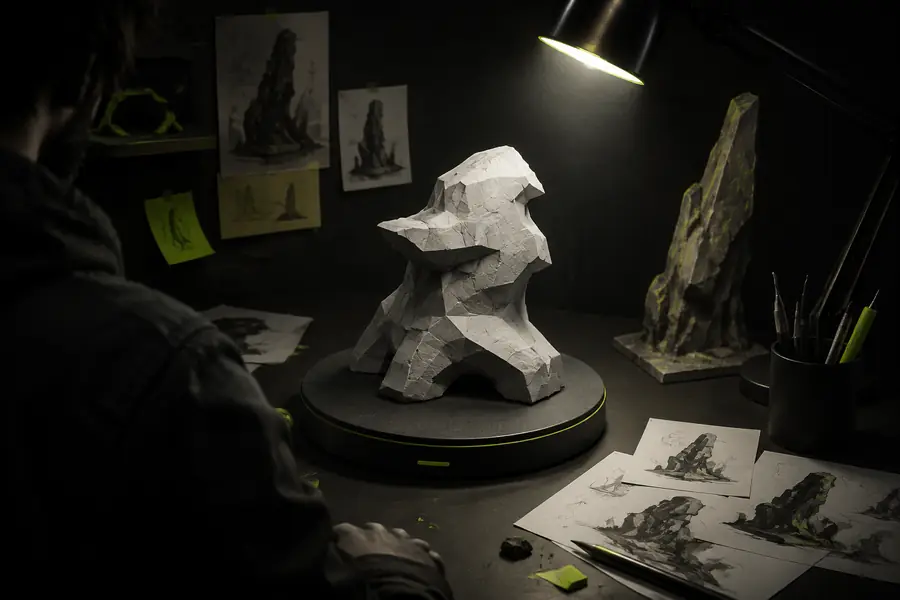
Roughly generated 3D object with uneven proportions
Refined 3D object with a clearer silhouette and more consistent materials
Refined result

Why does my first result look wrong? Start by fixing the silhouette and prompt scope before adding more adjectives. Can I use my own image? Yes, a clean subject with a readable outline is usually more useful than a busy reference. How many generations should I make? Make enough variants to compare structure, then refine the strongest one instead of endlessly changing every setting. Is the exported model finished? Treat it as a starting asset: inspect scale, normals, topology, UVs, materials, and texture resolution in the destination tool.

Know the limits

Common errors and fixes

Meshy ai can accelerate ideation and asset production, but it cannot guarantee the exact geometry, topology, or art direction your project may require.

Exact dimensions are not guaranteed

A prompt can describe proportions, but generated geometry may still drift from precise measurements or fit requirements.

WorkaroundUse meshy ai for the concept or blockout, then set dimensions and rebuild critical surfaces in a dedicated modeling tool.

Topology may need manual cleanup

The visible shape can look convincing while edge flow, density, poles, or deformation areas remain unsuitable for animation or editing.

WorkaroundInspect the mesh in your 3D application and retopologize or simplify it where deformation, subdivision, or performance matters.

Small text and repeated details can fail

Labels, logos, thin handles, teeth, fingers, and repeated mechanical parts are easy to merge, distort, or omit.

WorkaroundGenerate the broad form first, then add exact details manually or use a controlled reference and multiple focused passes.

Materials may not match the reference

Color, roughness, transparency, and texture placement can vary between generations, especially on reflective or complex surfaces.

WorkaroundUse the generated materials as a starting point and replace or rebalance them in the final rendering or game pipeline.